How to update captions on photos for photo reports
Introducing the photo caption update feature in Hubvia, designed for users seeking to enhance the accessibility of photo reports.
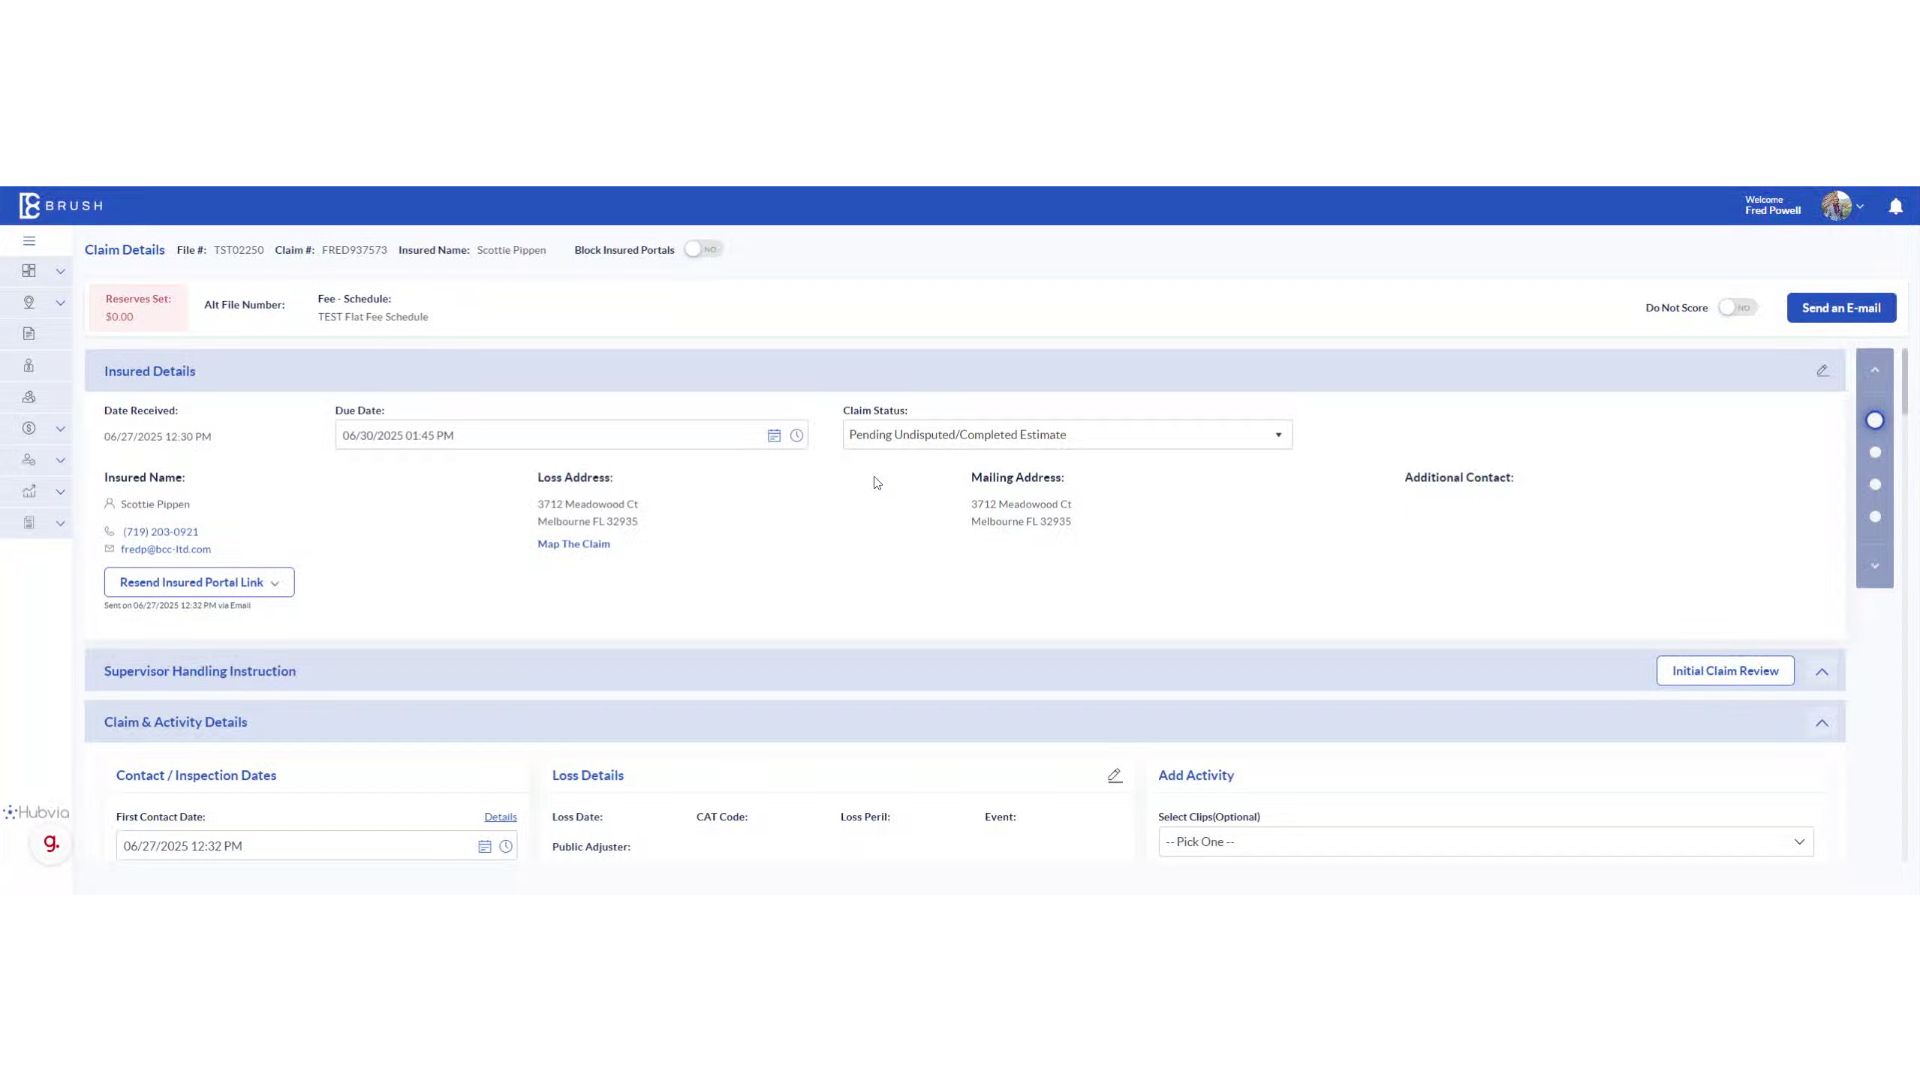
Go to adjusters.hubviacms.com
1. Introduction
By updating captions, you can improve the experience for all users, particularly those relying on screen readers, ensuring your reports are inclusive and comprehensible.
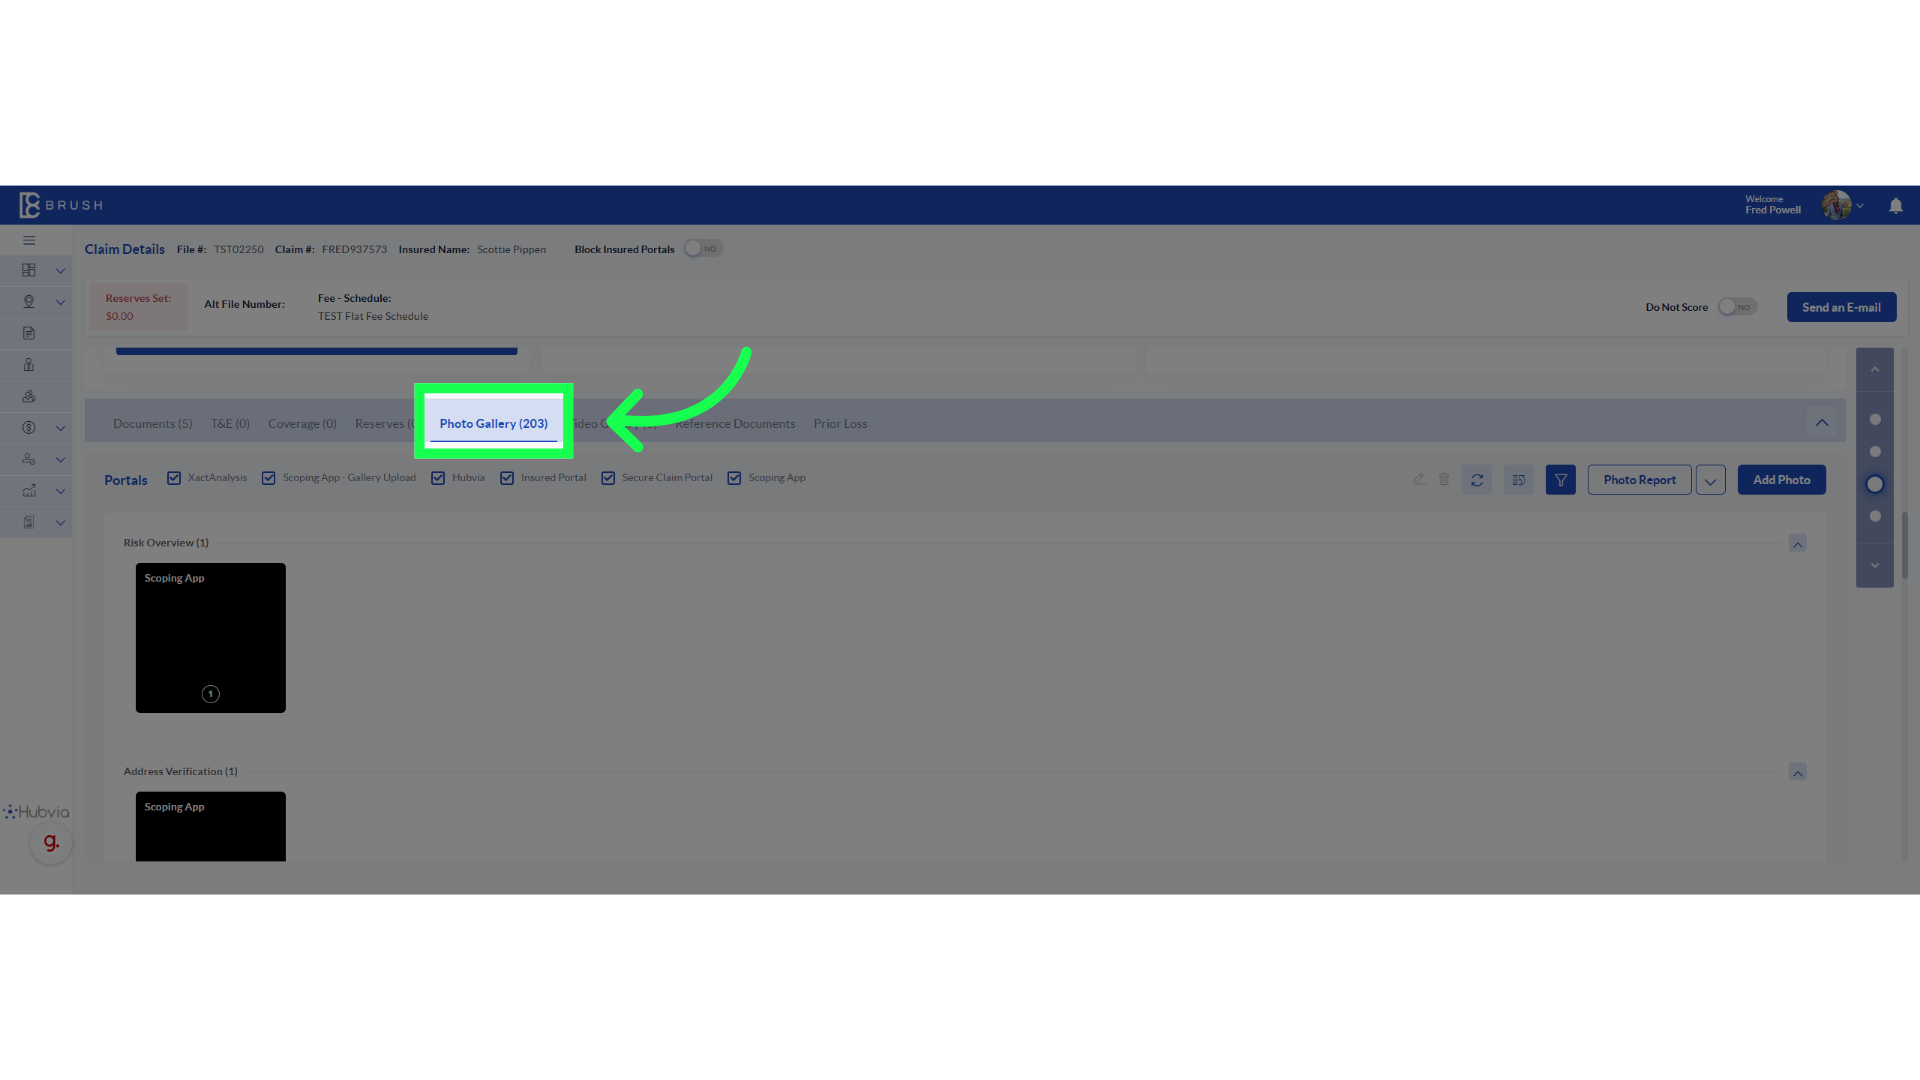
2. Click "Photo Gallery"
Access the Photo Gallery to begin the process of enhancing your photo reports with updated captions that improve accessibility.
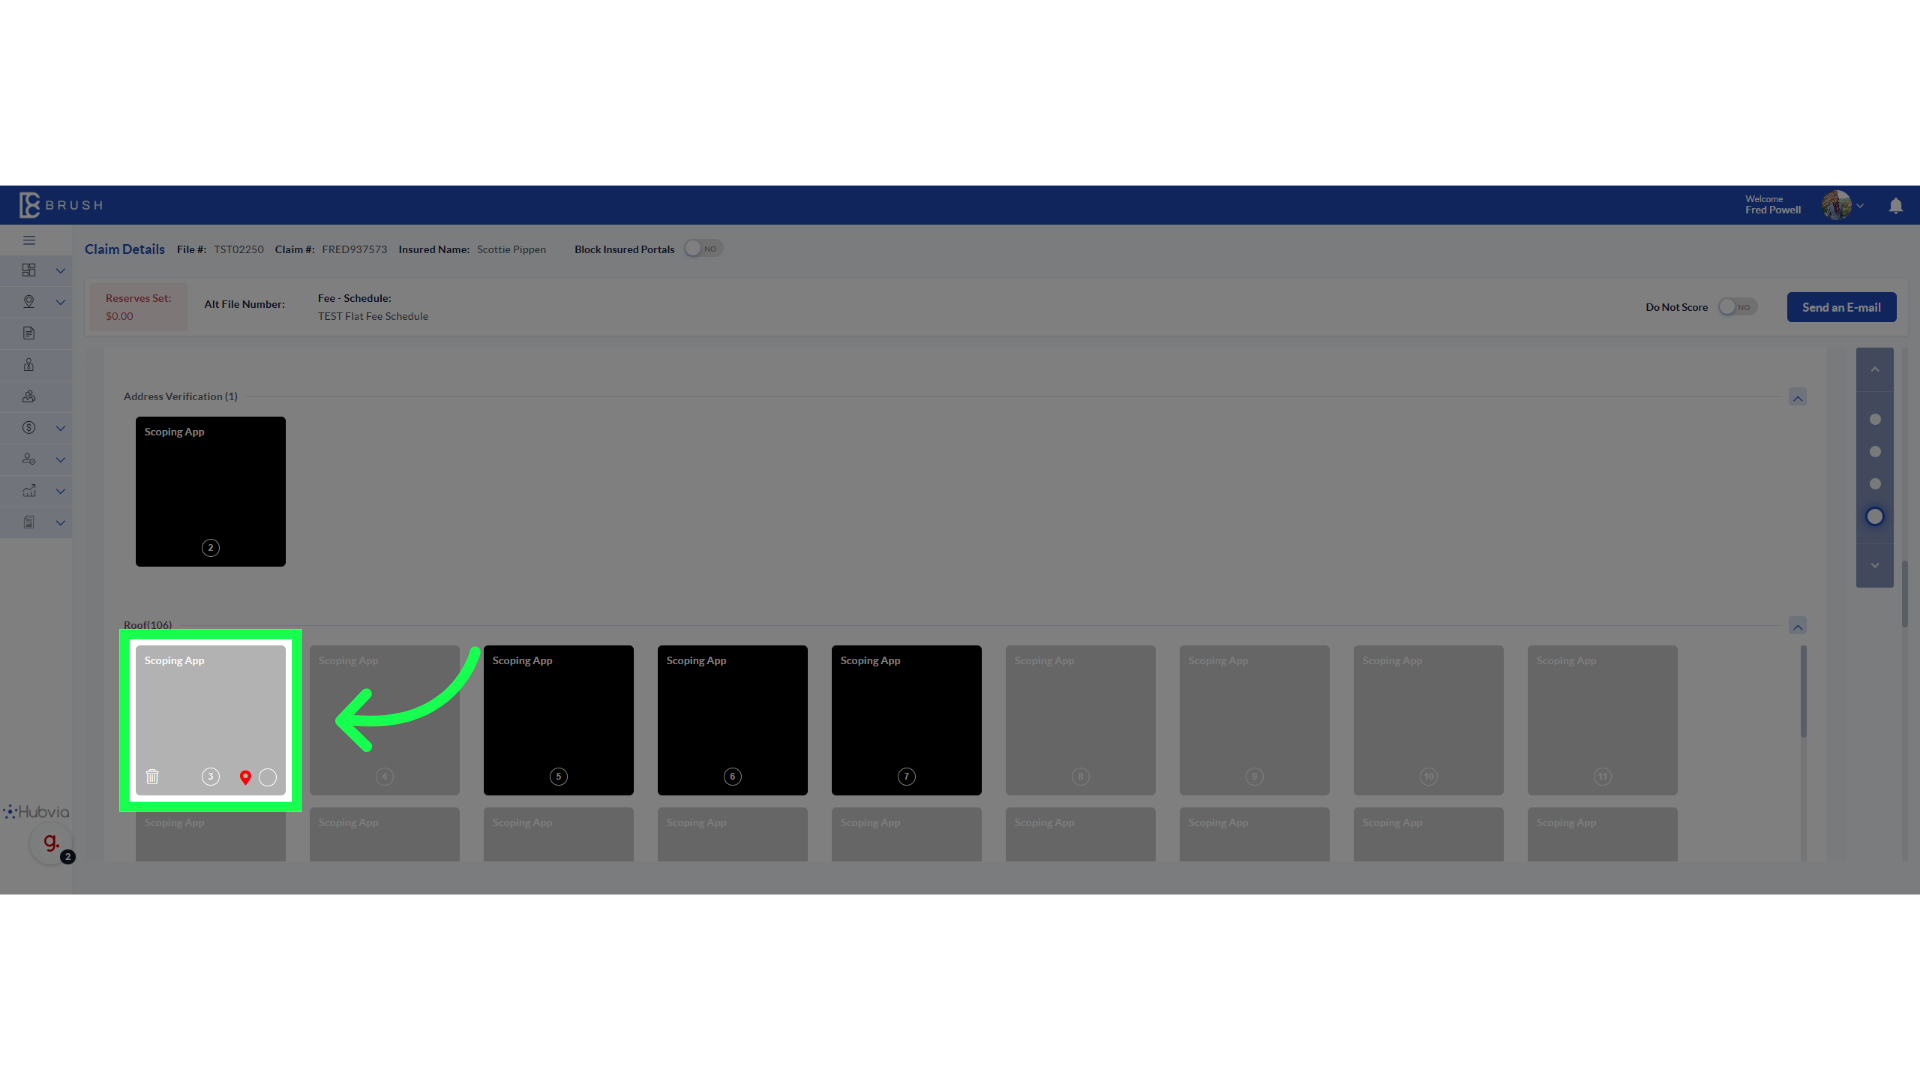
3. Click on the photo that needs caption updates
Select the relevant photo where you want to update captions.

4. Click on the photo
Continuing in the Photos section ensures you're working on the right set of photos for your report.
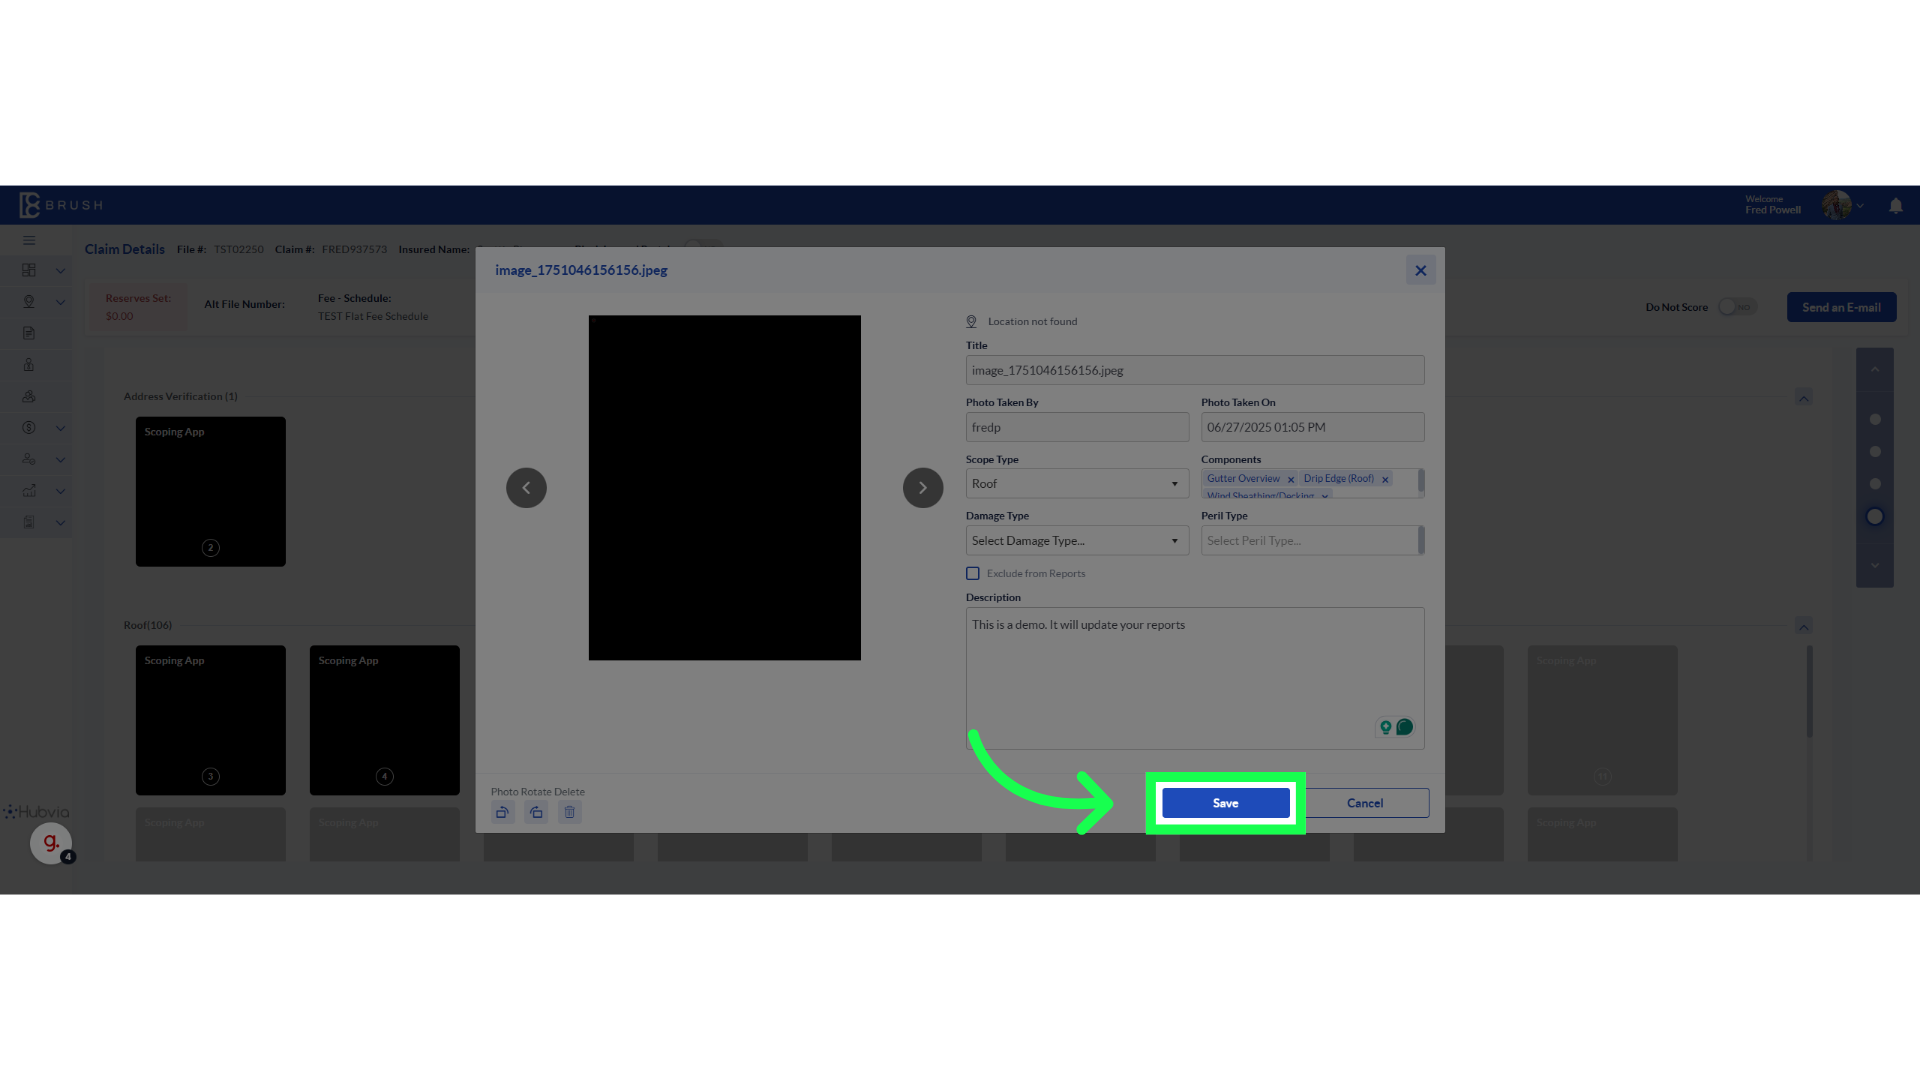
5. Fill in your photo description. It will update your reports"
Fill in your photo description. It will update your reports
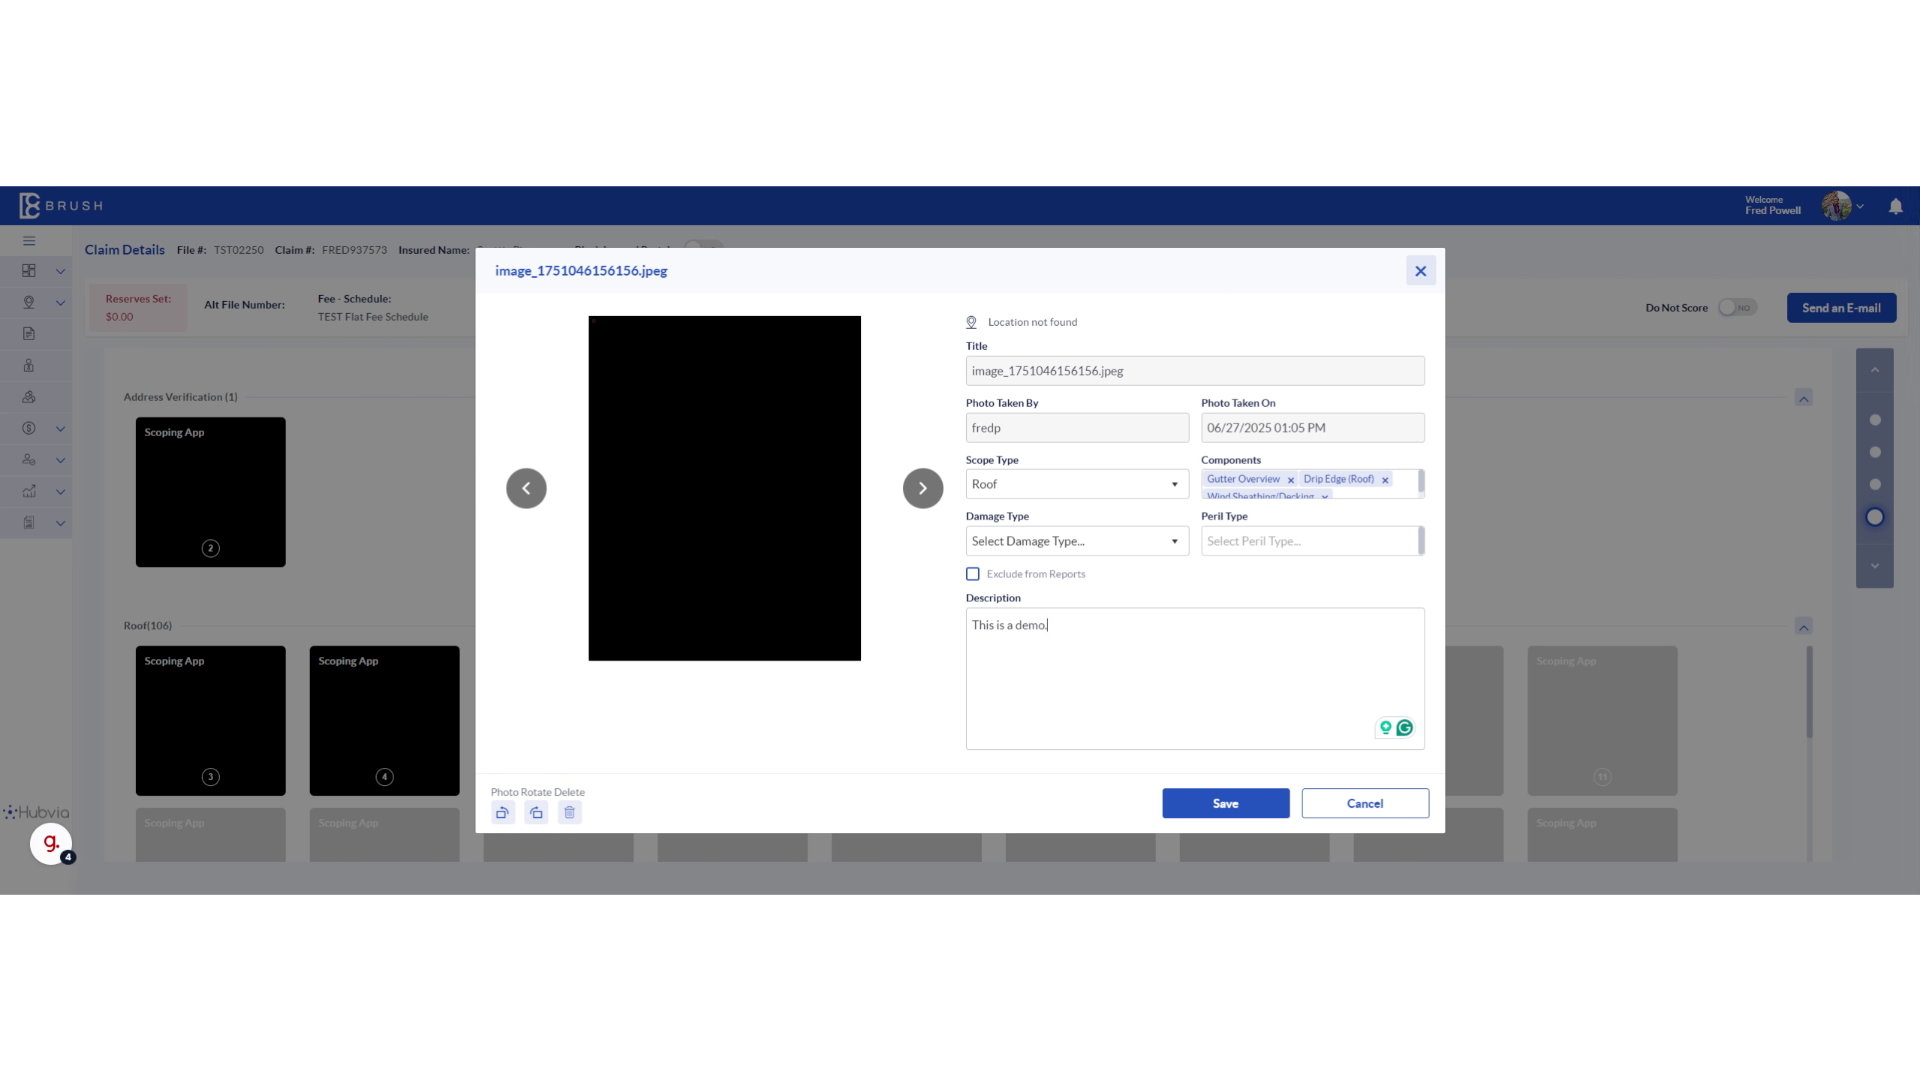
6. Click "Save"
Saving your changes is crucial to ensure that all updated captions are properly stored and reflected in the report.
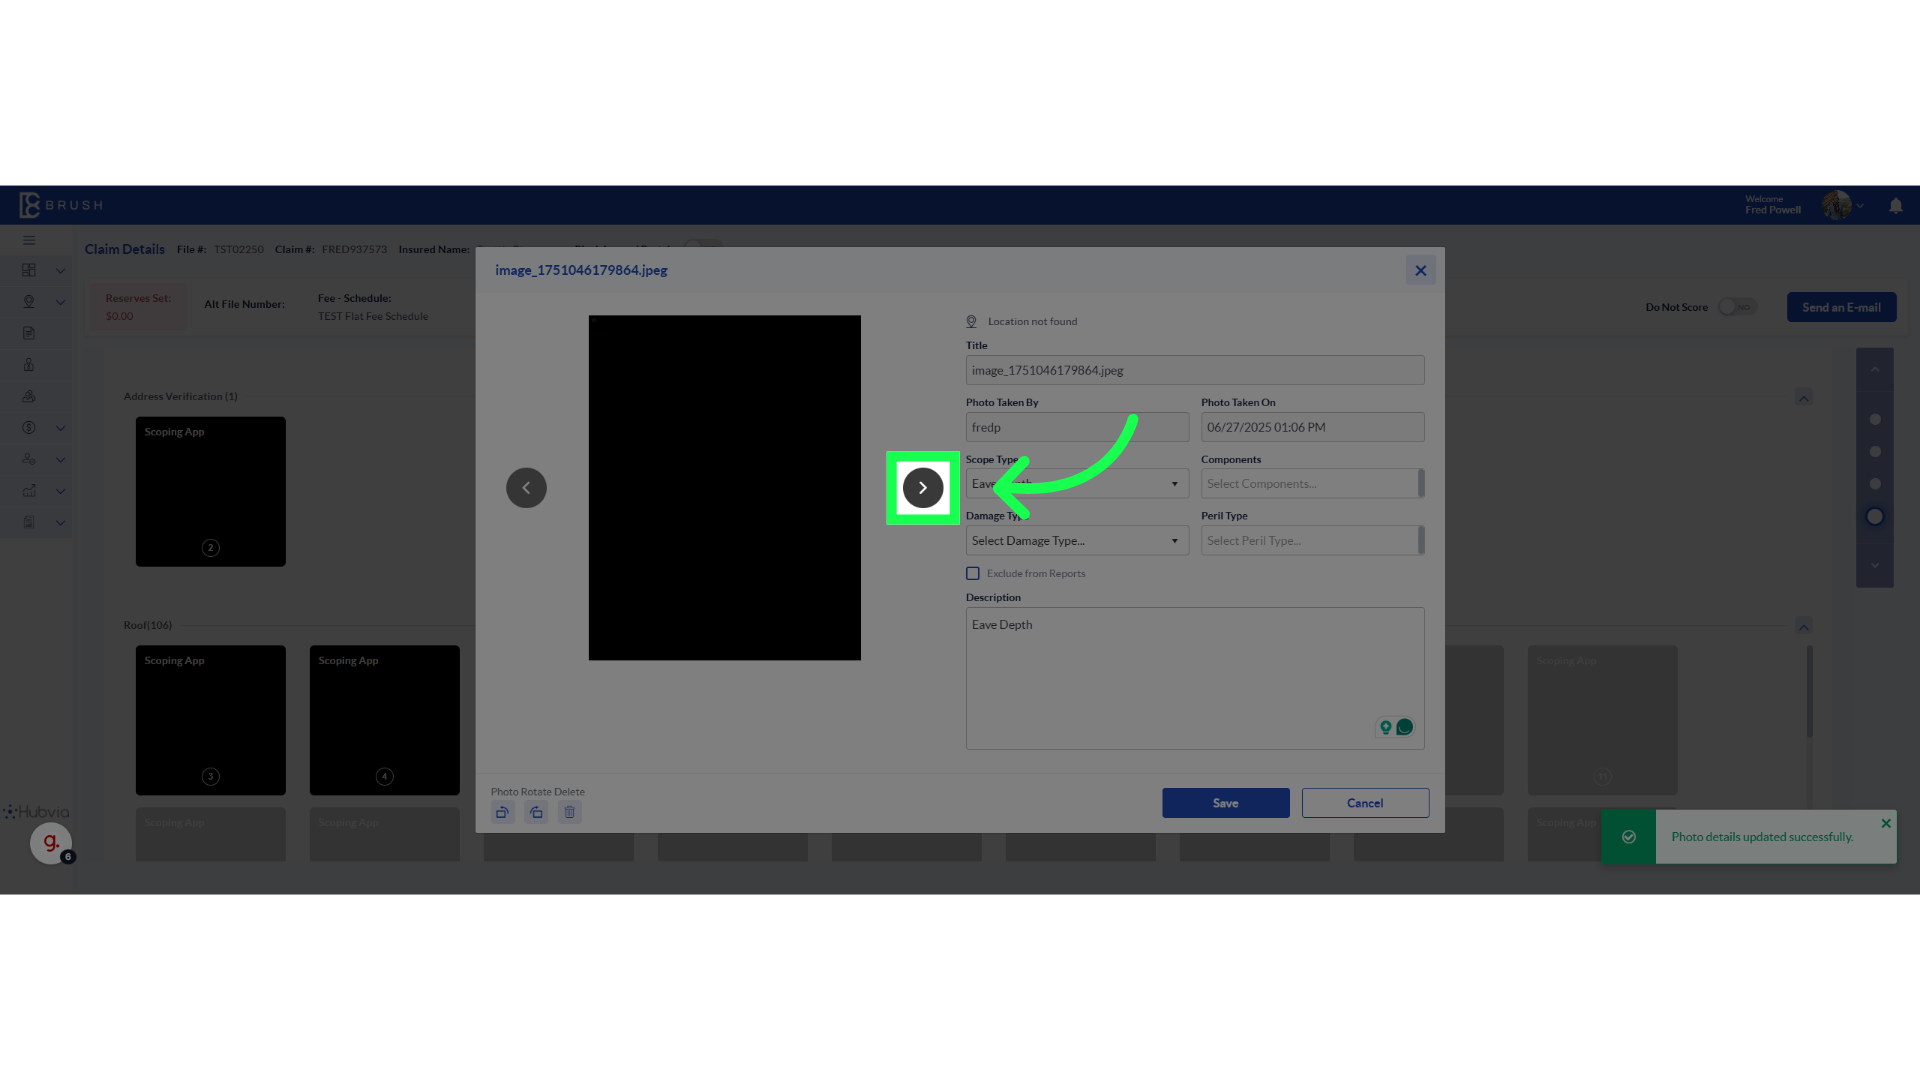
7. Click here
Navigating here allows you to continue refining your report with the new caption updates more easily by moving back and forth through the photo gallery
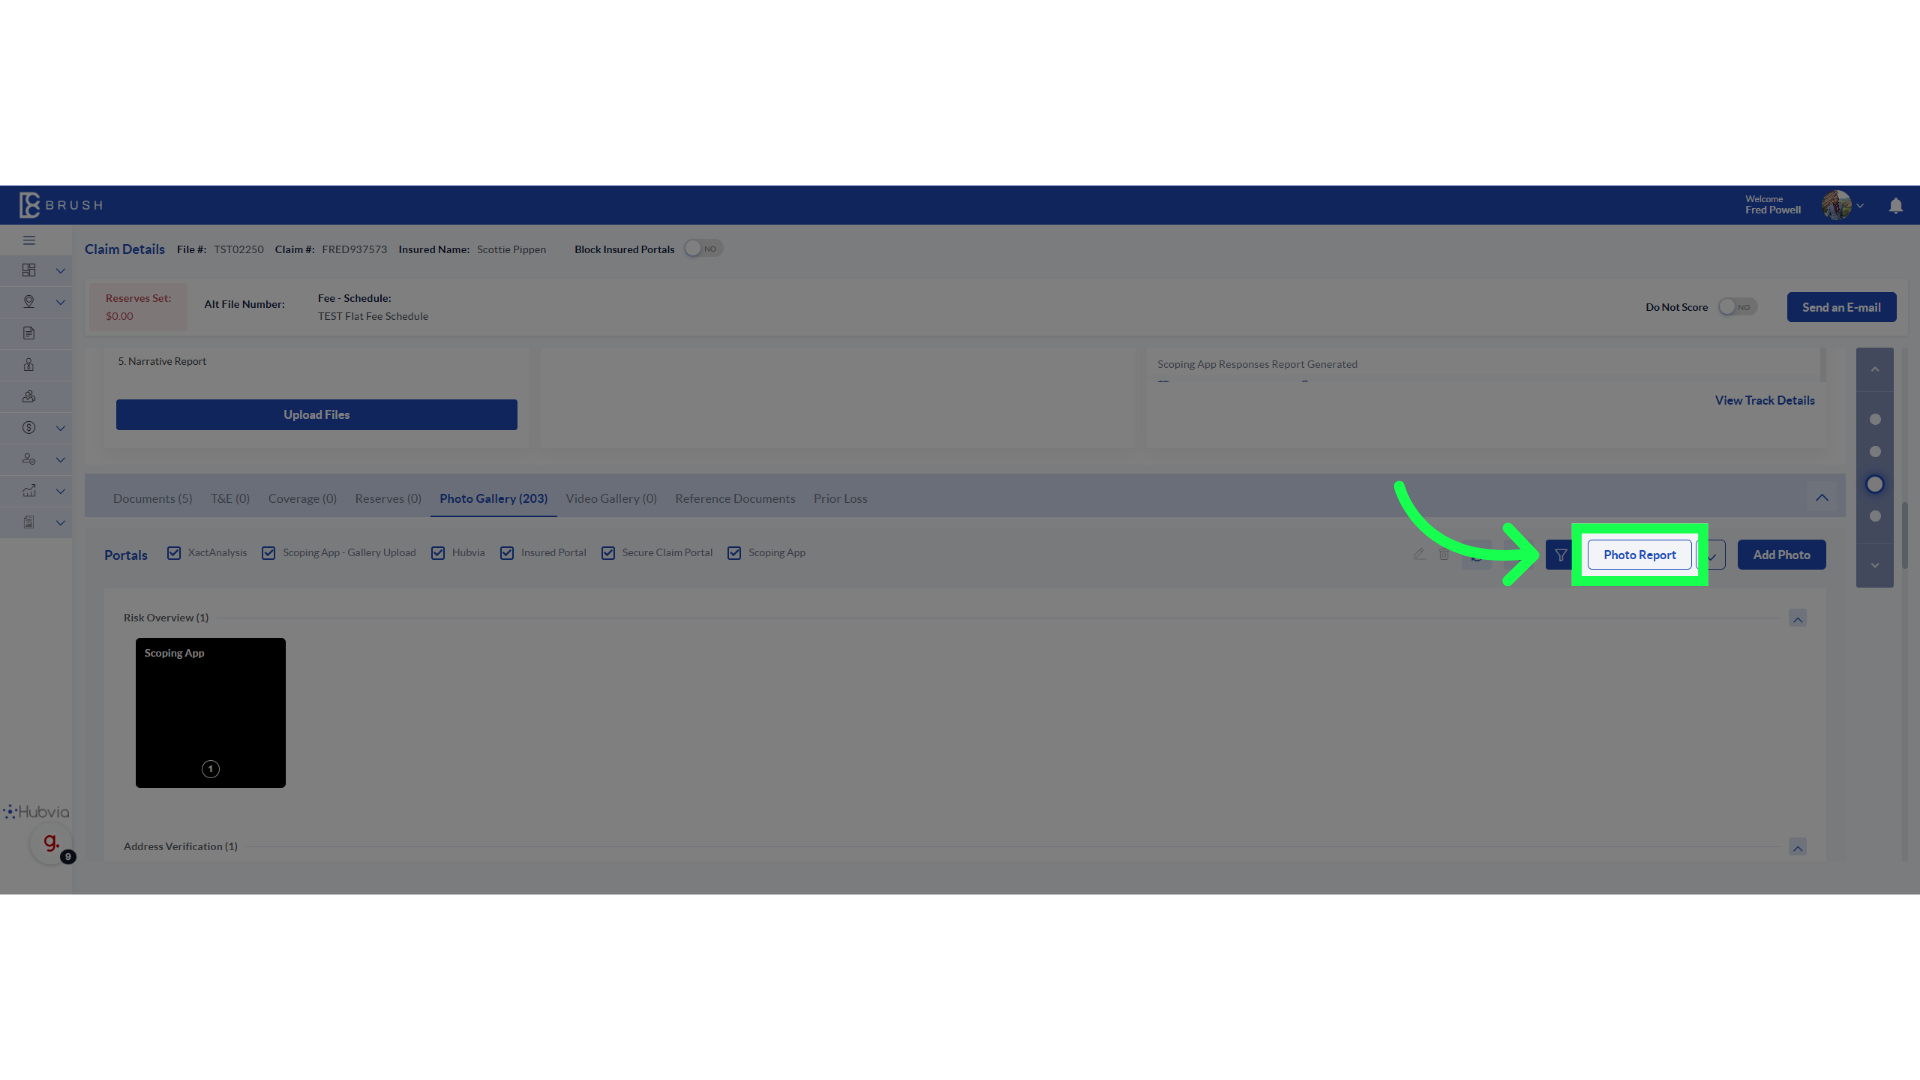
8. Click "Photo Report"
Selecting the Photo Report is vital as it leads you to the area where your captions can be viewed.
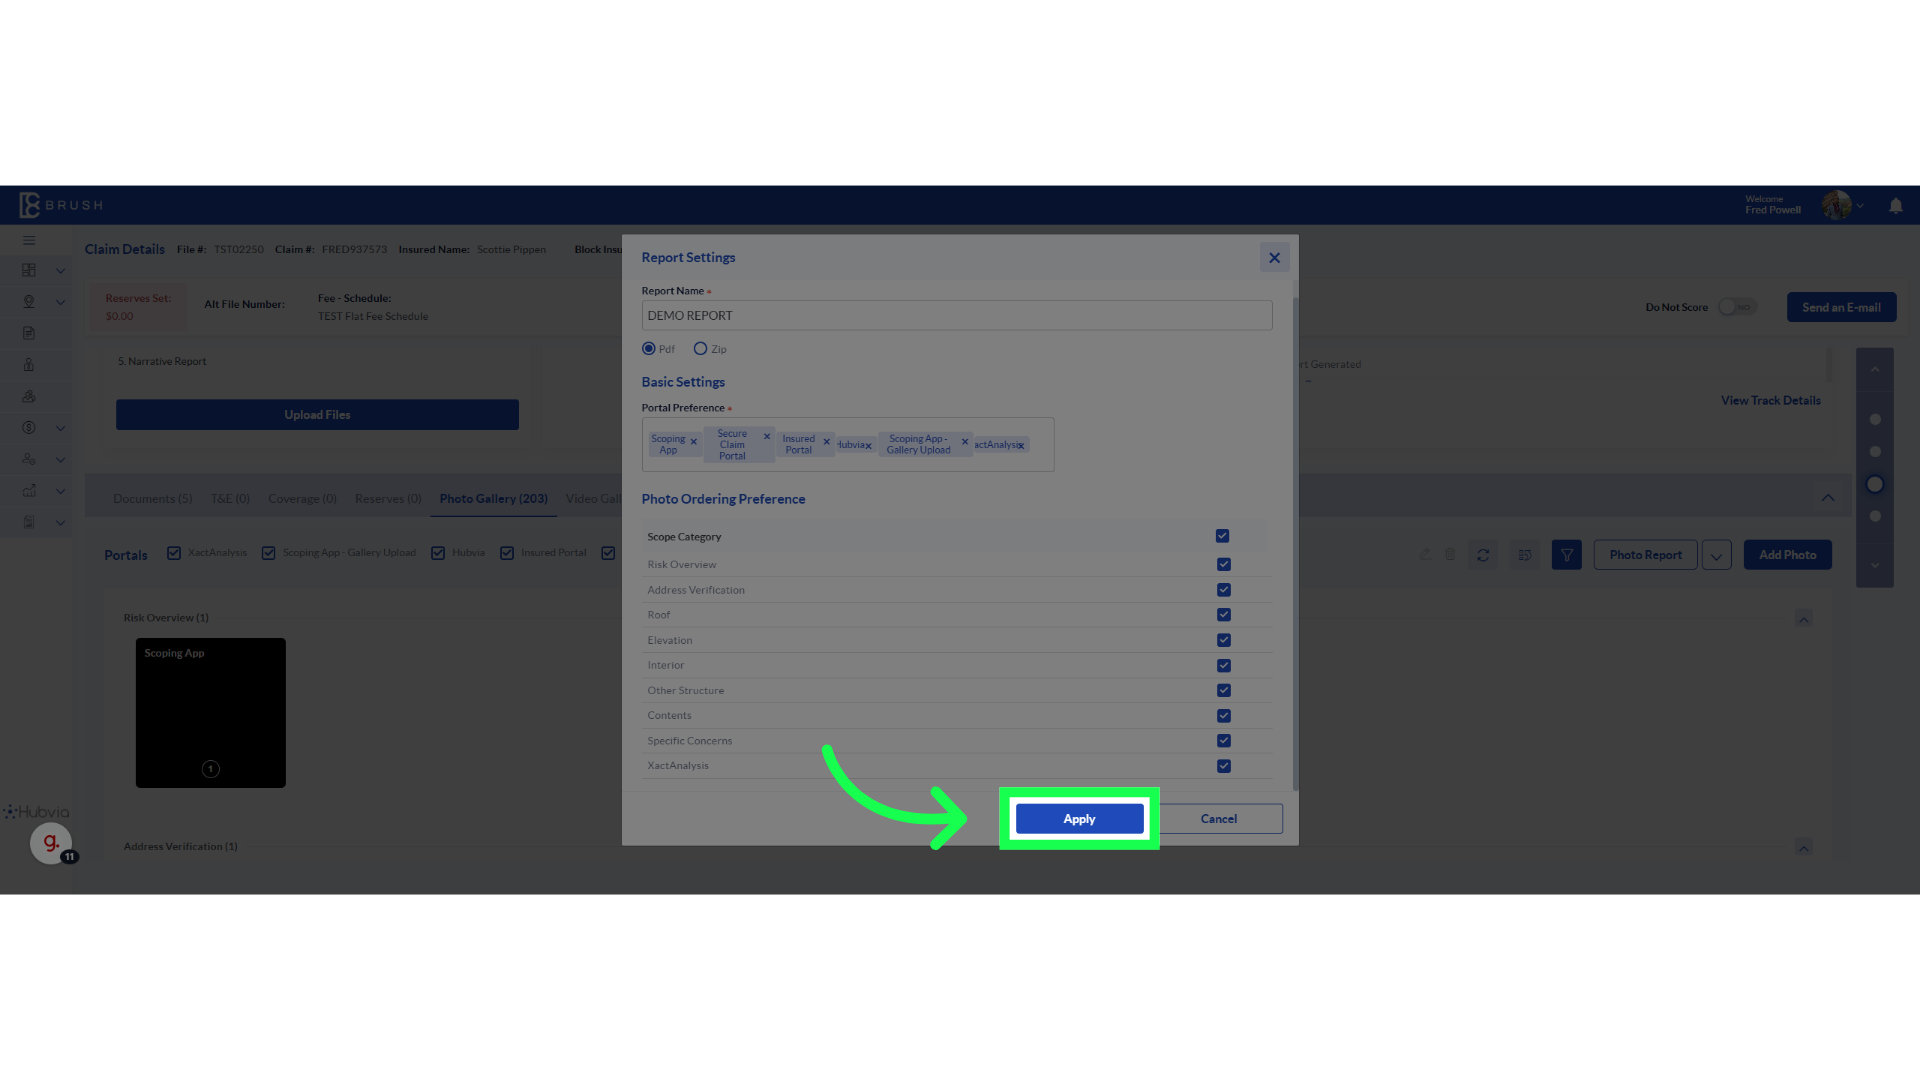
9. Fill in the name of your report
Enter the name of your report.
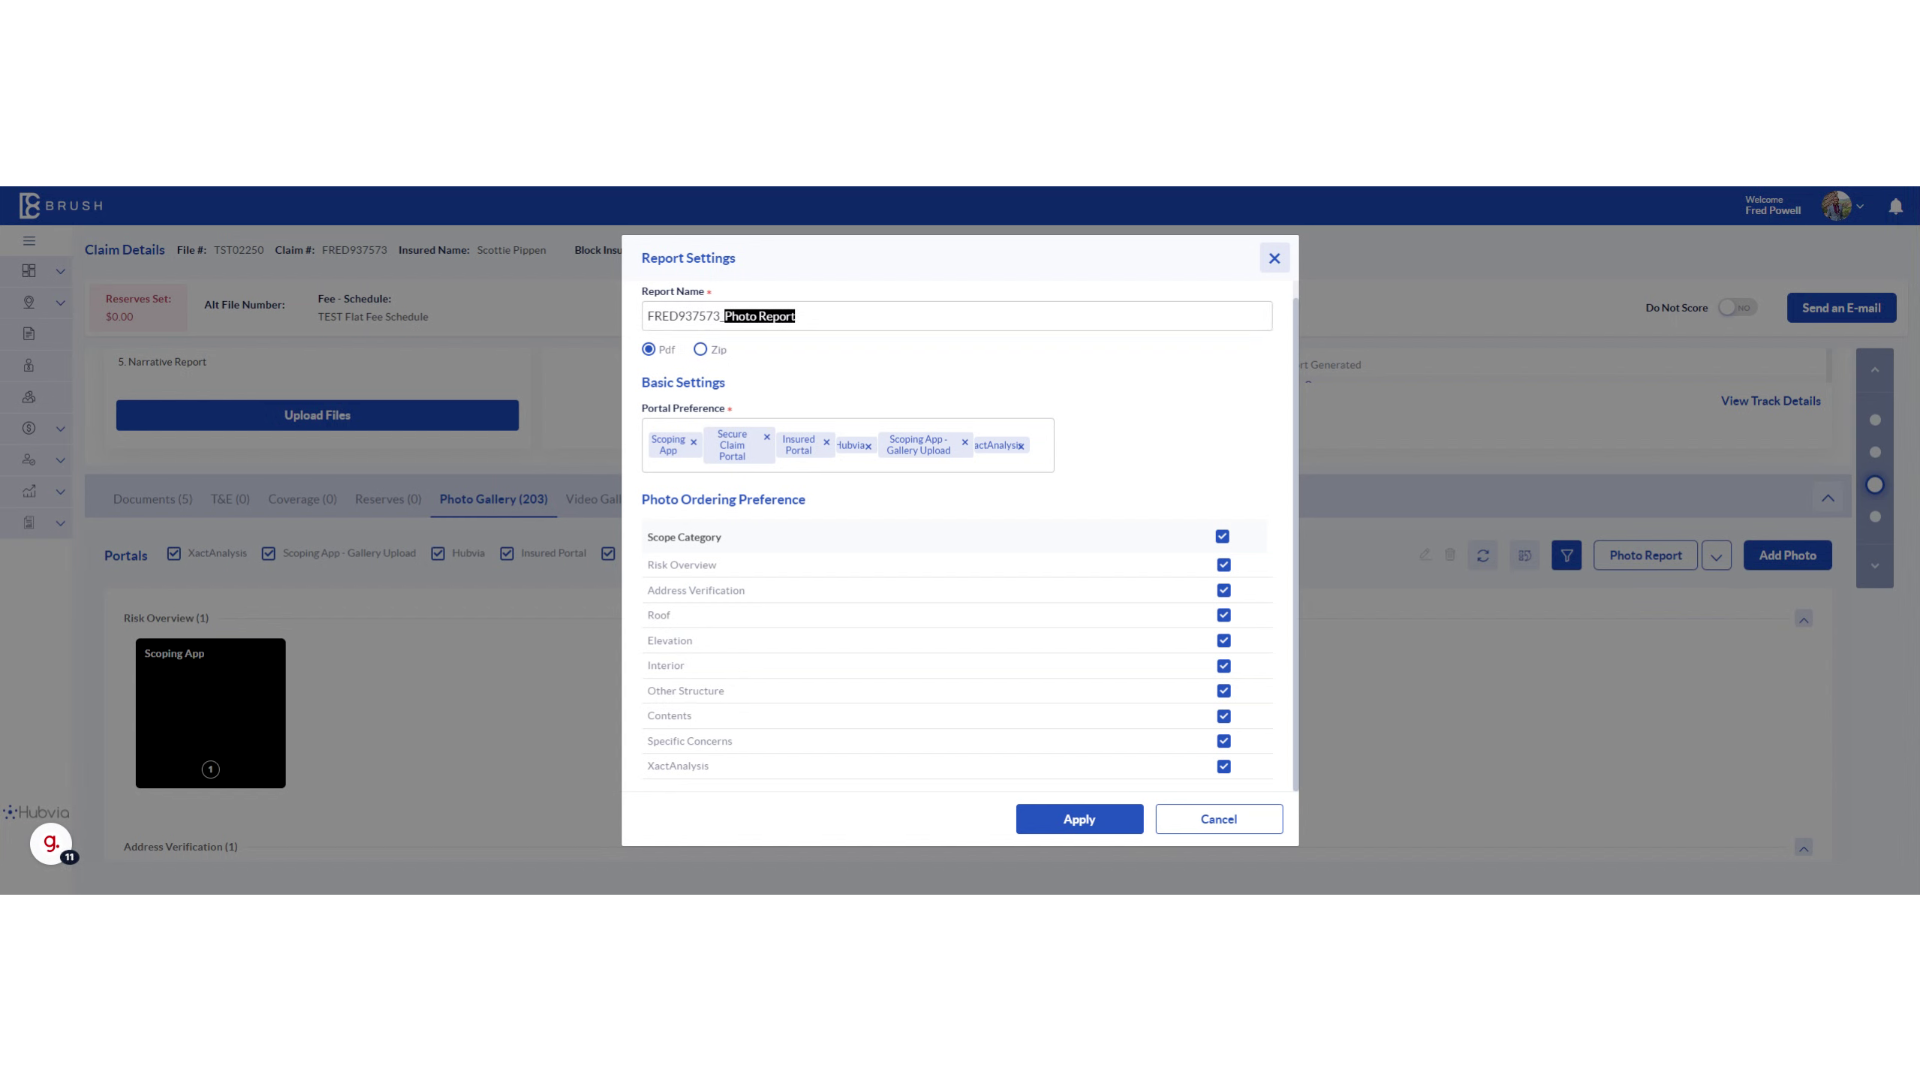
10. Click "Apply"
Applying your changes finalizes the updates and begins the process of creating your photo report.
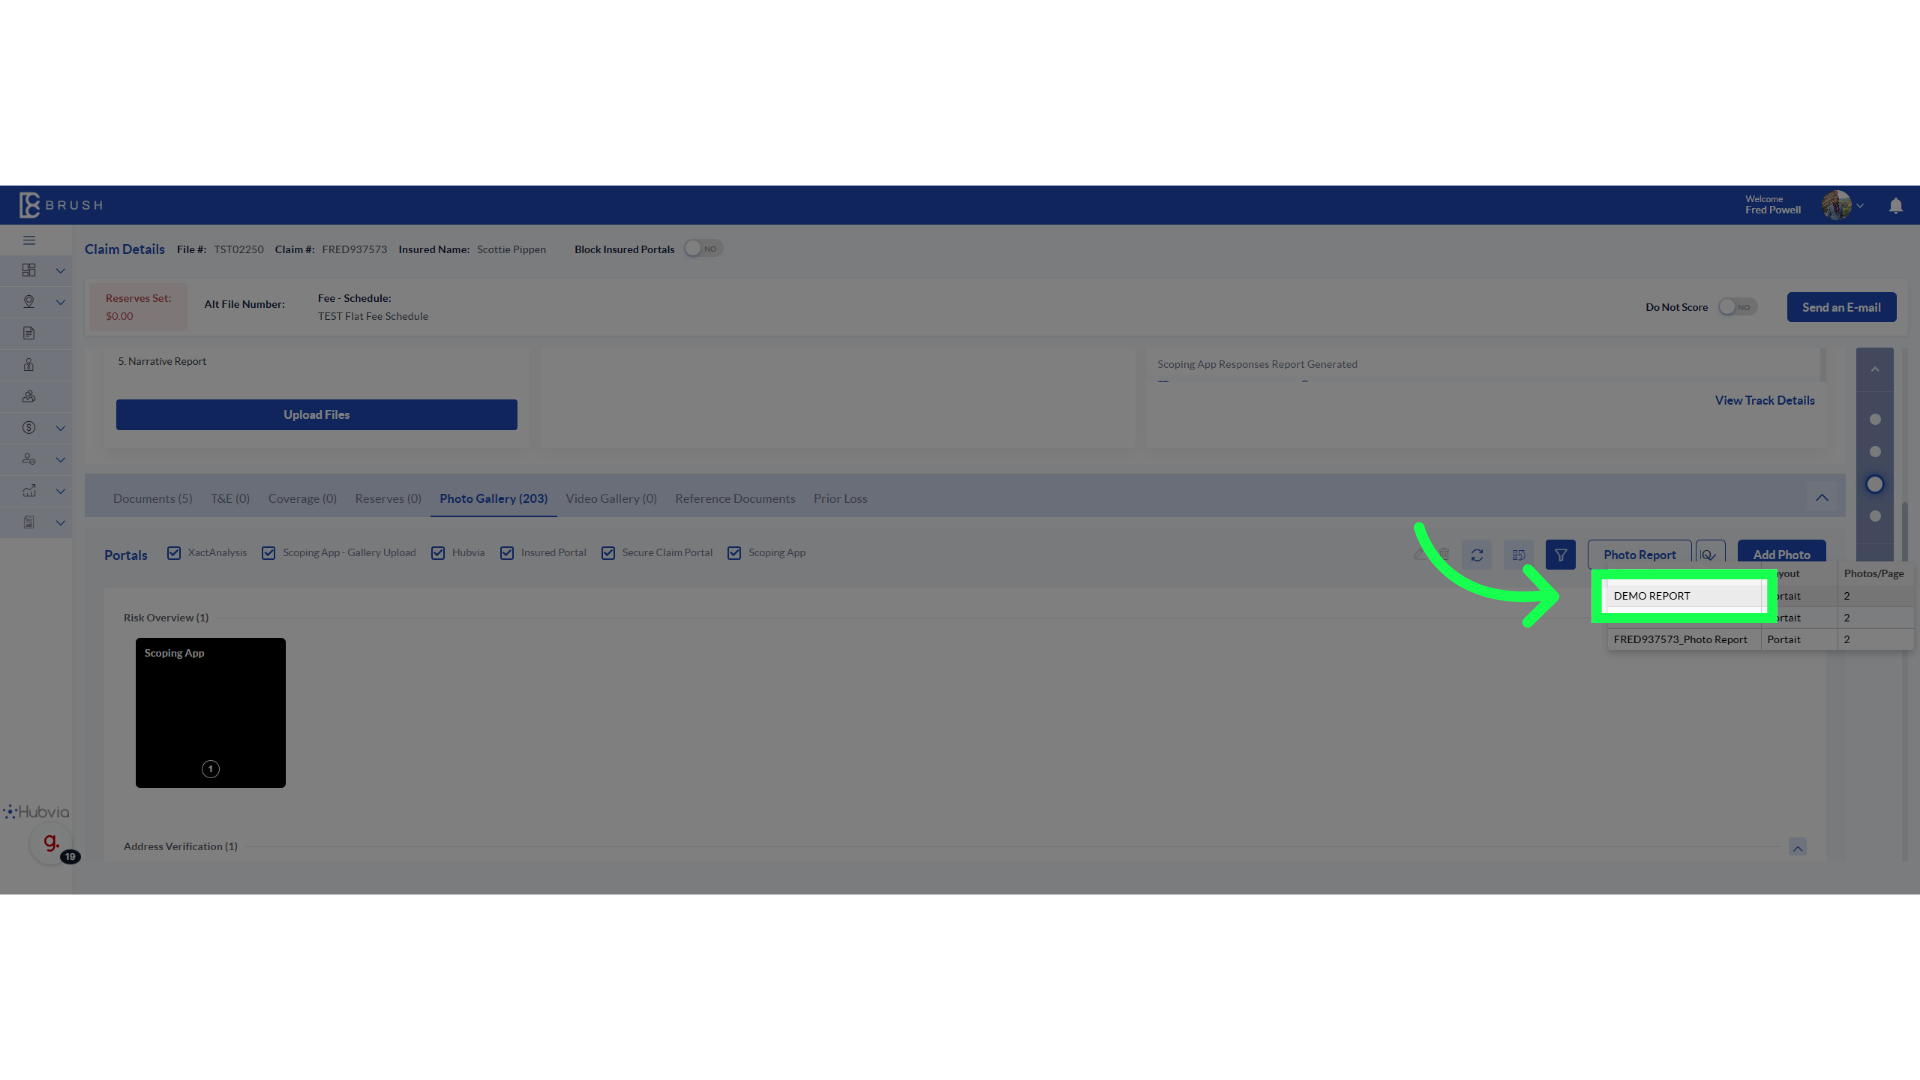
11. Click Report Name
Accessing the Photo report allows you to preview how the updated captions will appear in the final output.
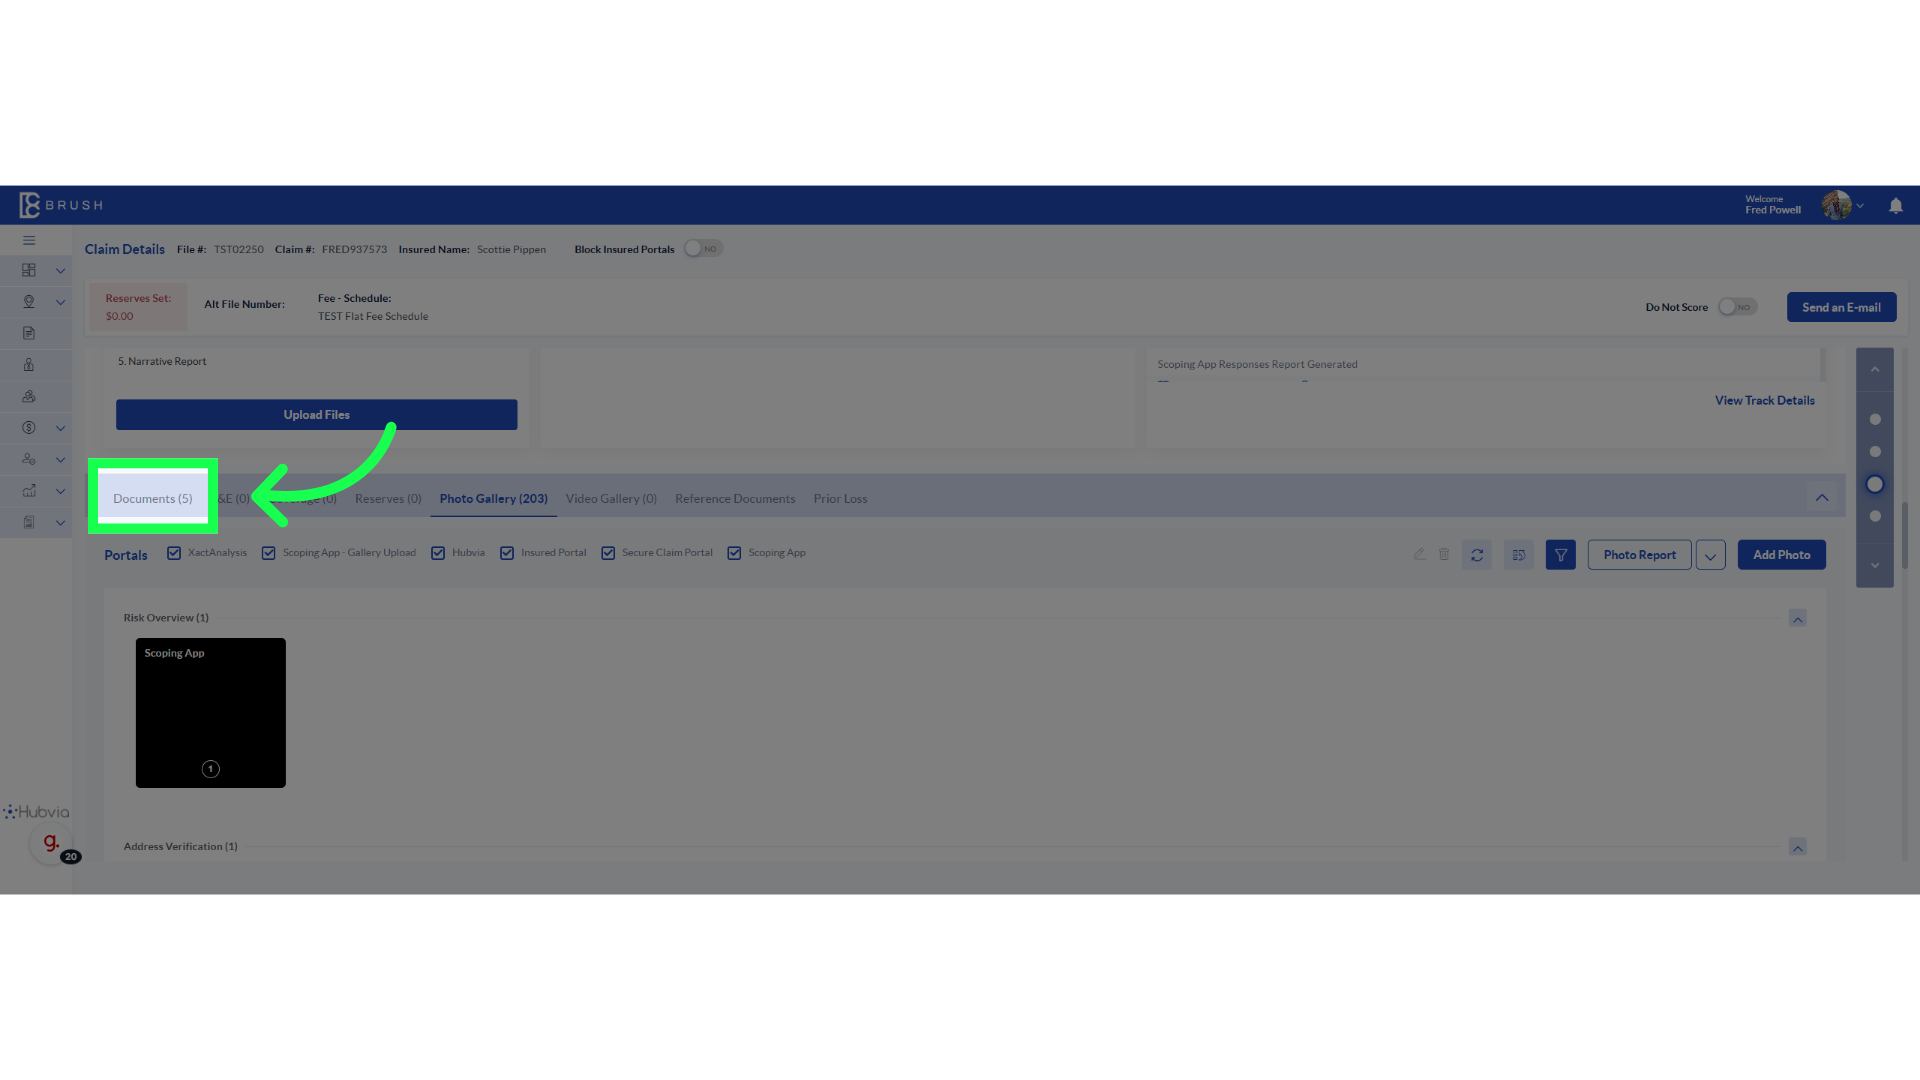
12. Click "Documents"
Reviewing the documents helps in correlating the captions with the overall documentation for consistency.
Thank you for viewing this video